How to Make Ethernet Cables
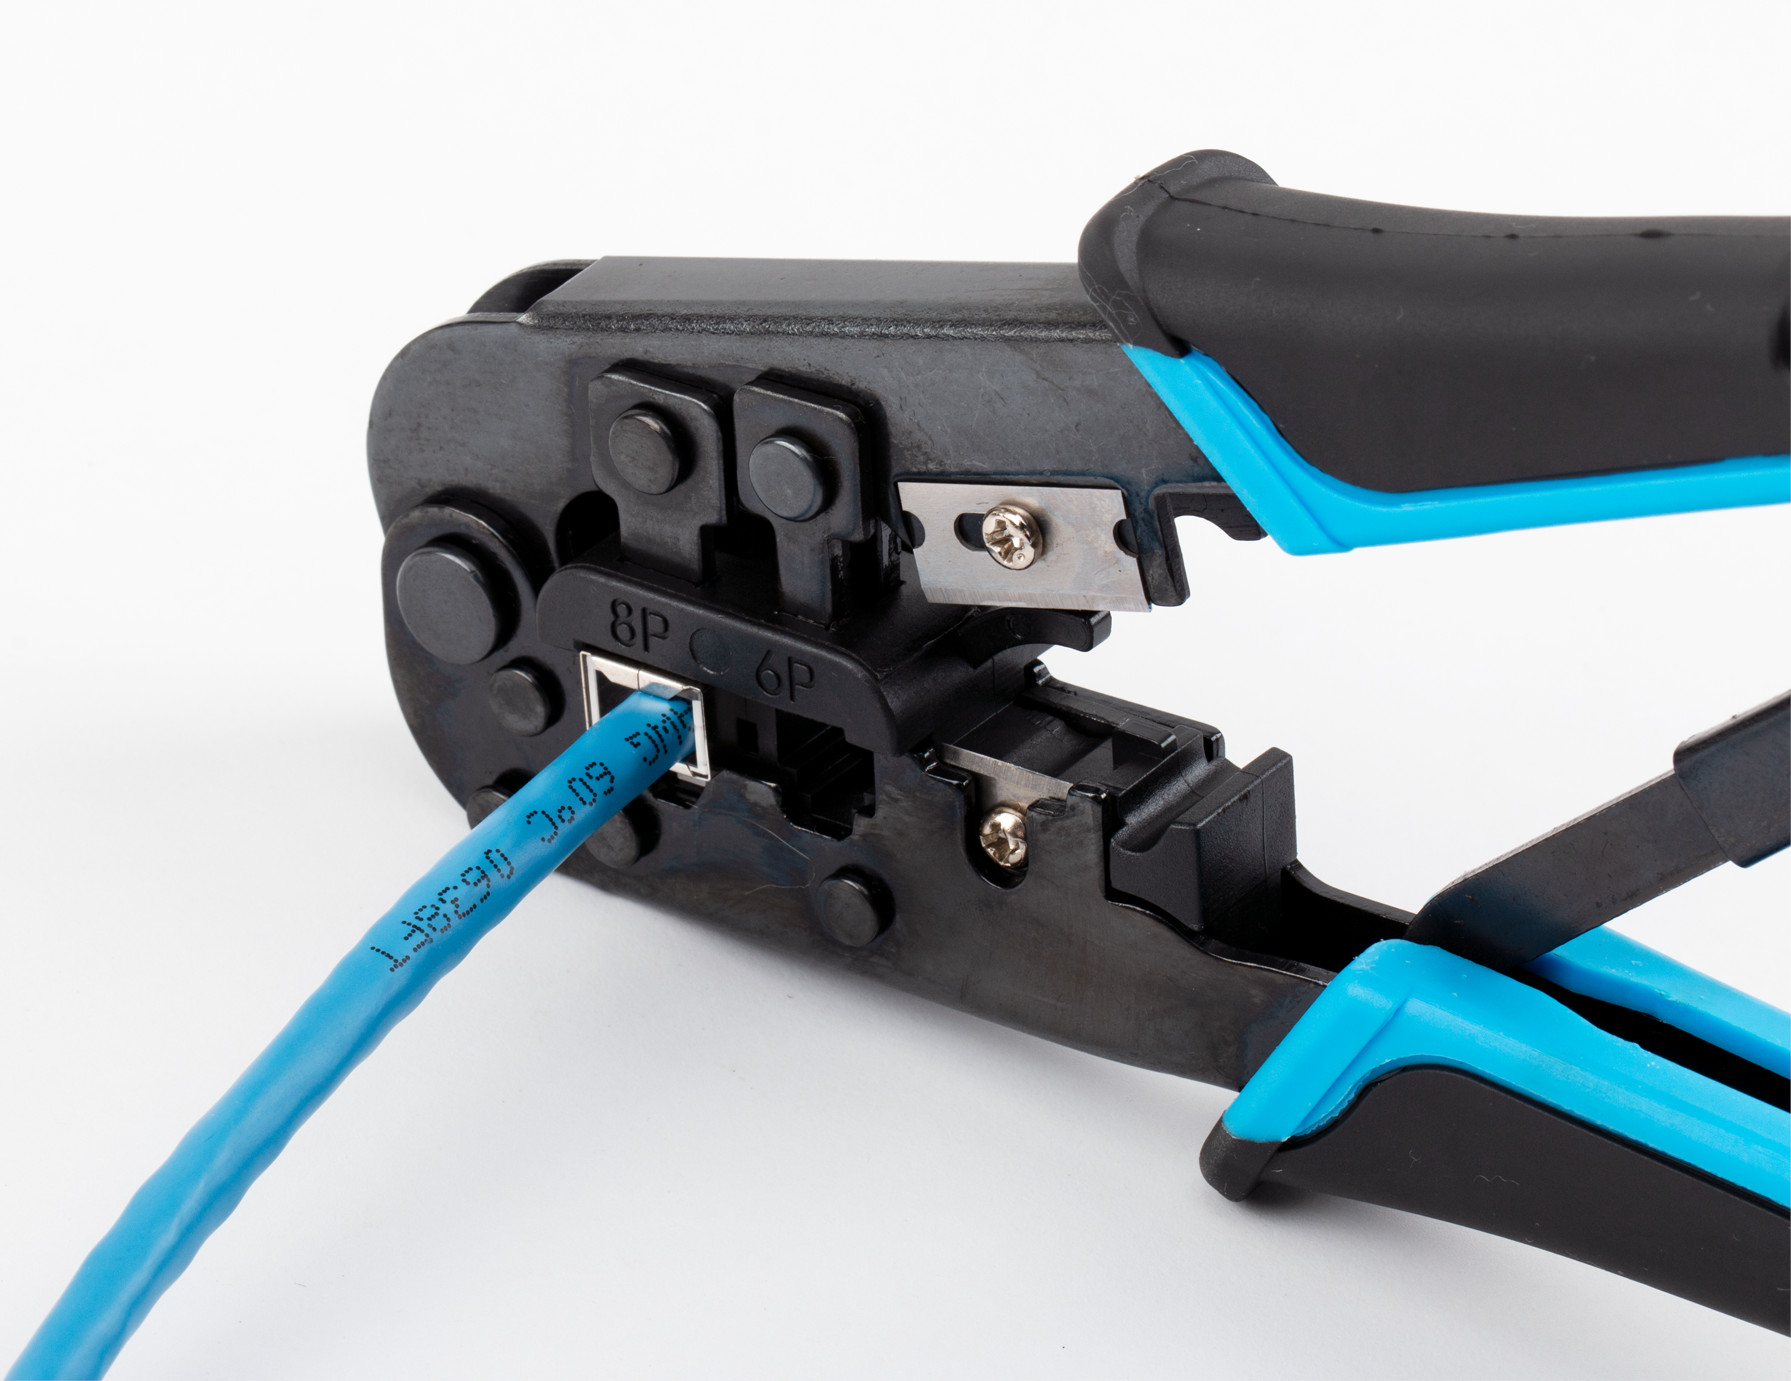
With your Cat 6 crimping tool, Cat 6 plugs, and a lengthy section of Cat 6 (or Cat 6a) cable, it's time to make your own custom Ethernet cables.
- Measure the length of the bulk Ethernet cable that you want to use. If you have a specific task in mind, it can help to lay it out where you expect it to go. That way you won't end up with a cable that's too short, or with lots of excess cabling that you only need to tuck away somewhere. Give yourself a little extra to work with so that the cable's not too taut.
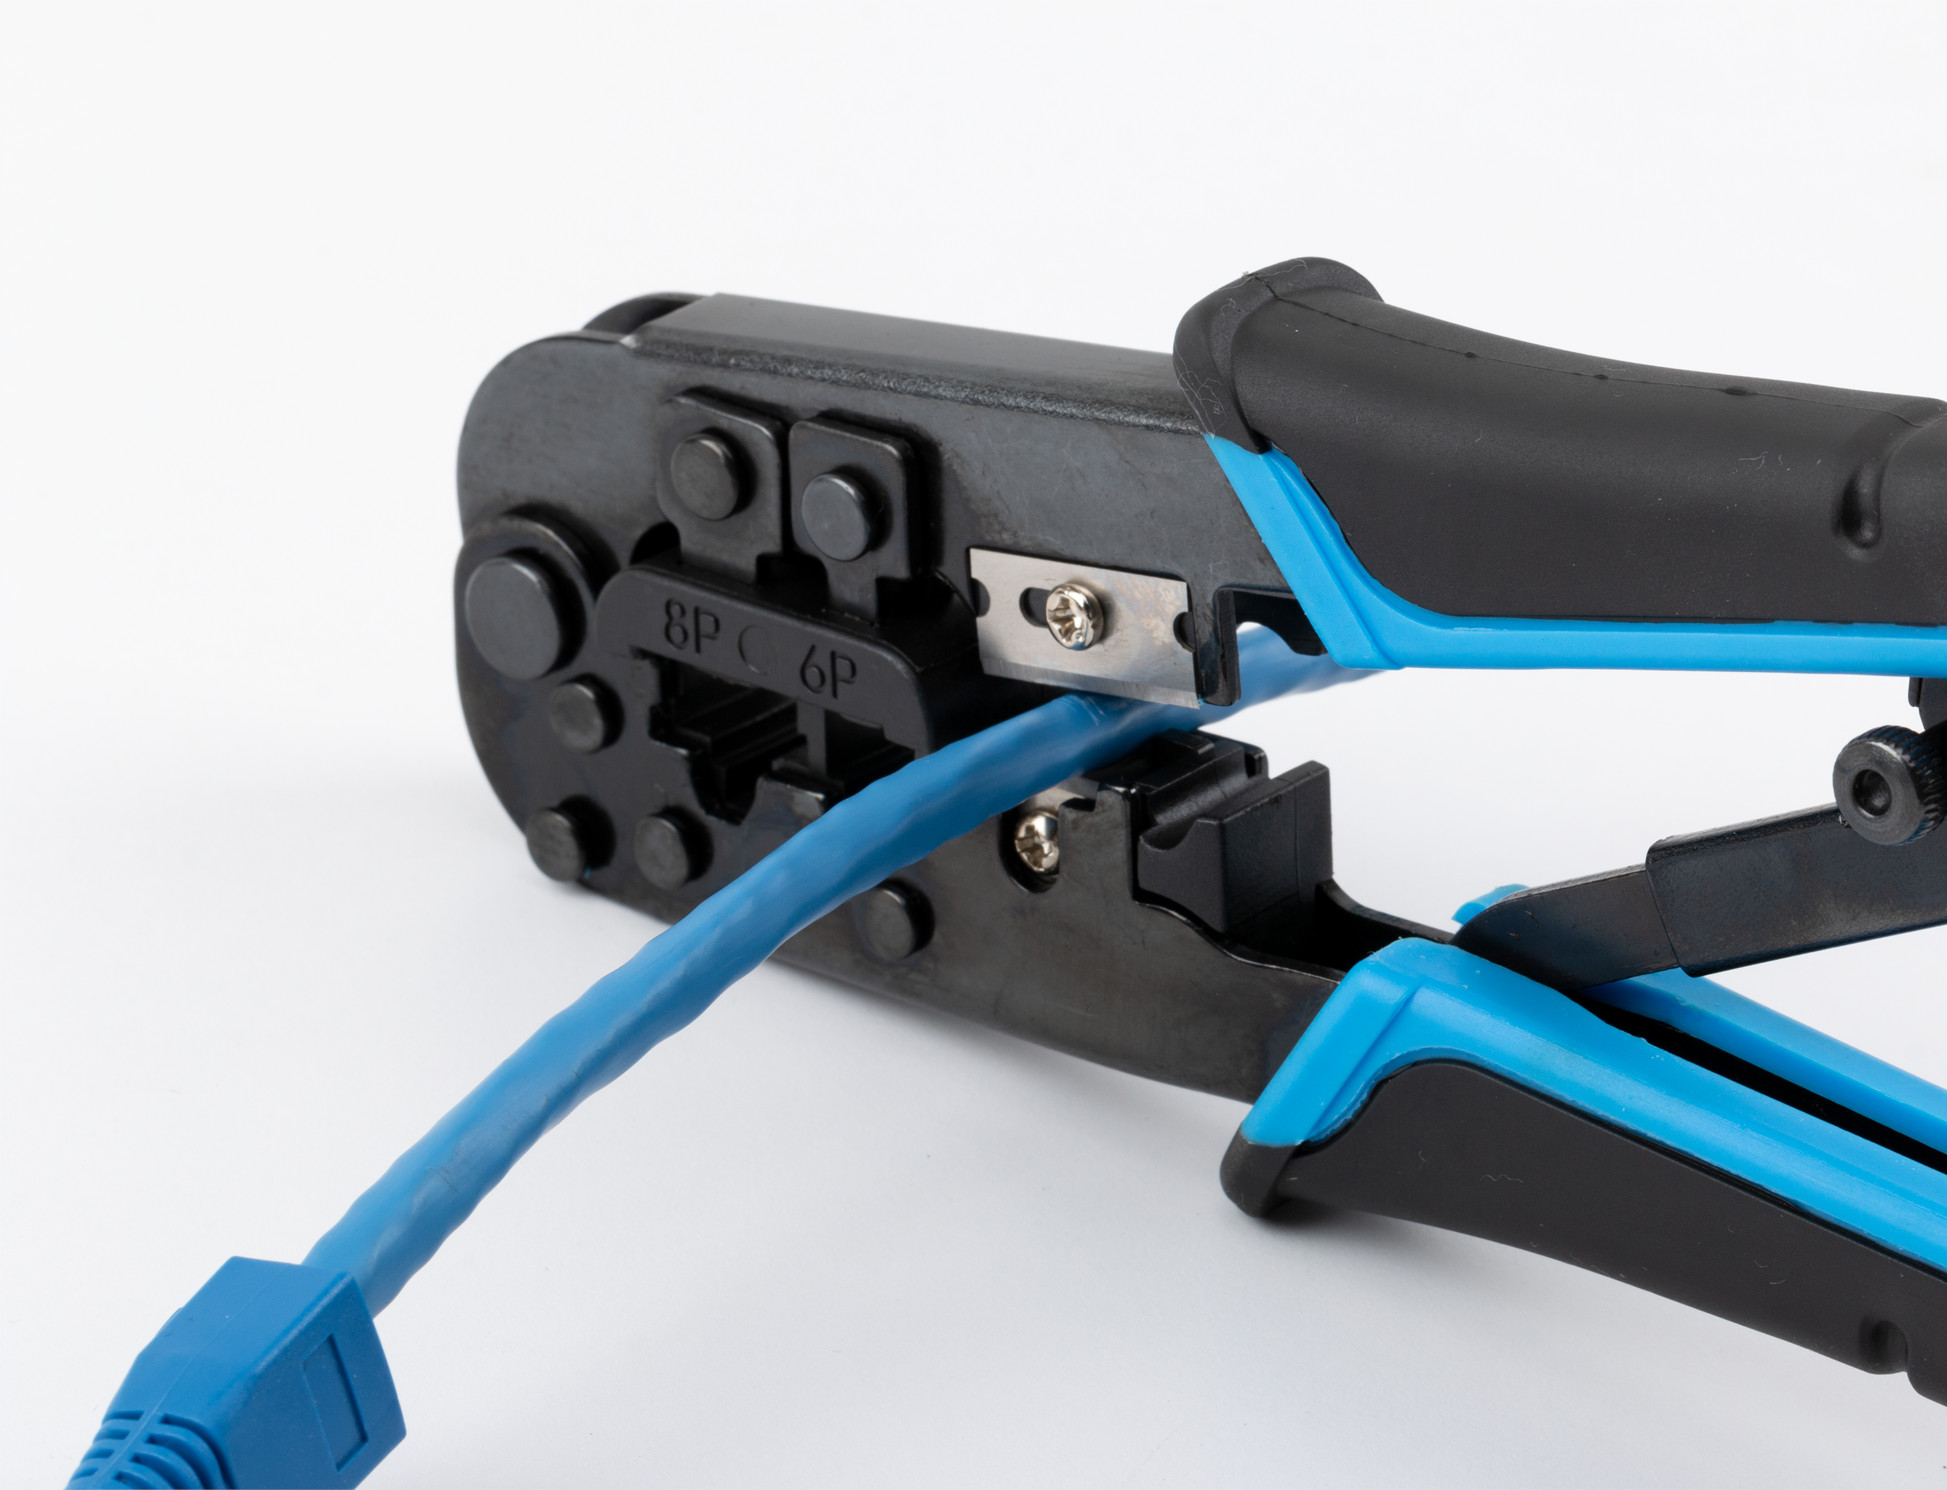
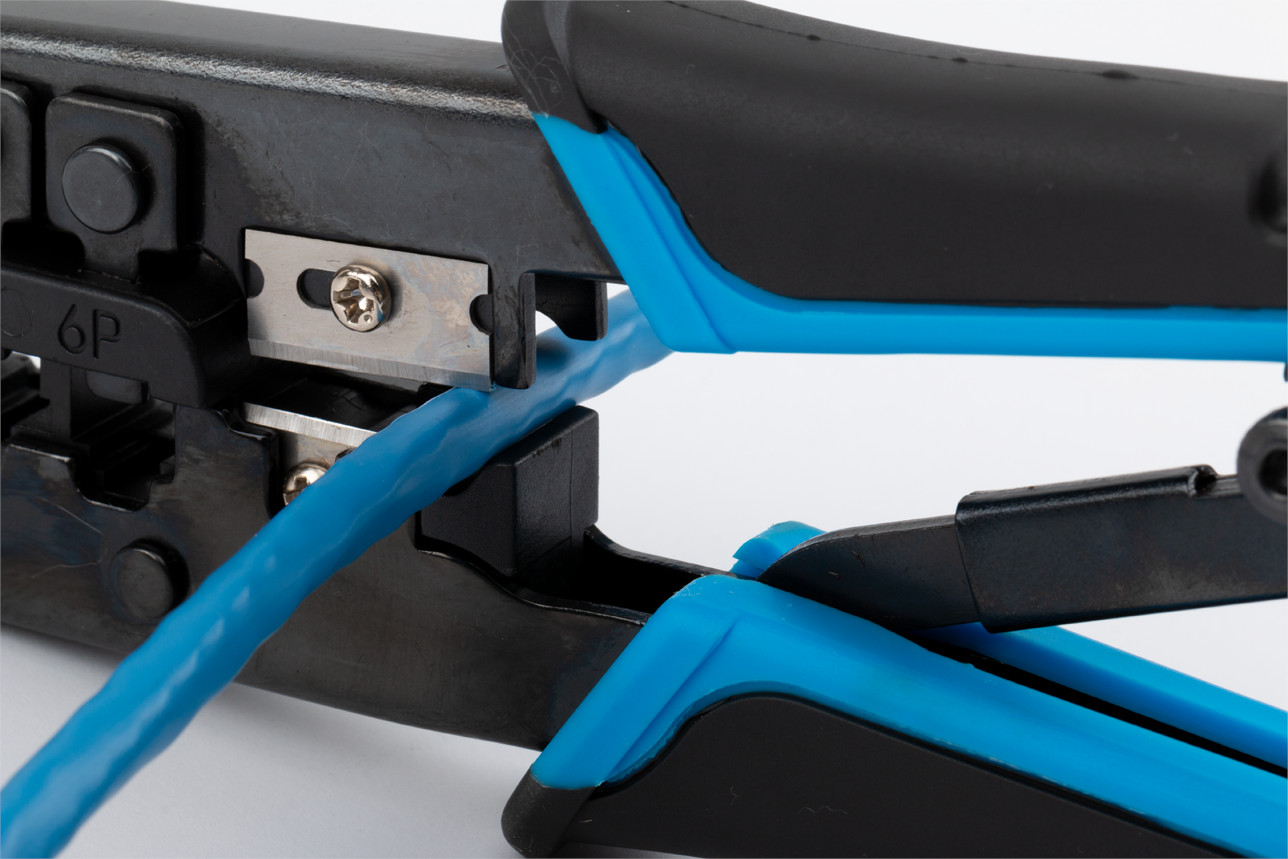
- When you're sure you have the right amount of cable, use your crimp tool's wire cutter to cut the cable to the right length.
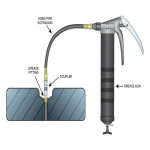
- Most Cable Matters Cat 6 plugs come with strain-relief boots to help protect the modular clips. Put one on each end of the cable if they are included.
- Starting at one end, use the crimp tool's wire stripper to cut open the PVC jacket to expose the internal wires. Take care not to cut into the wires or damage the spline (if it has one).
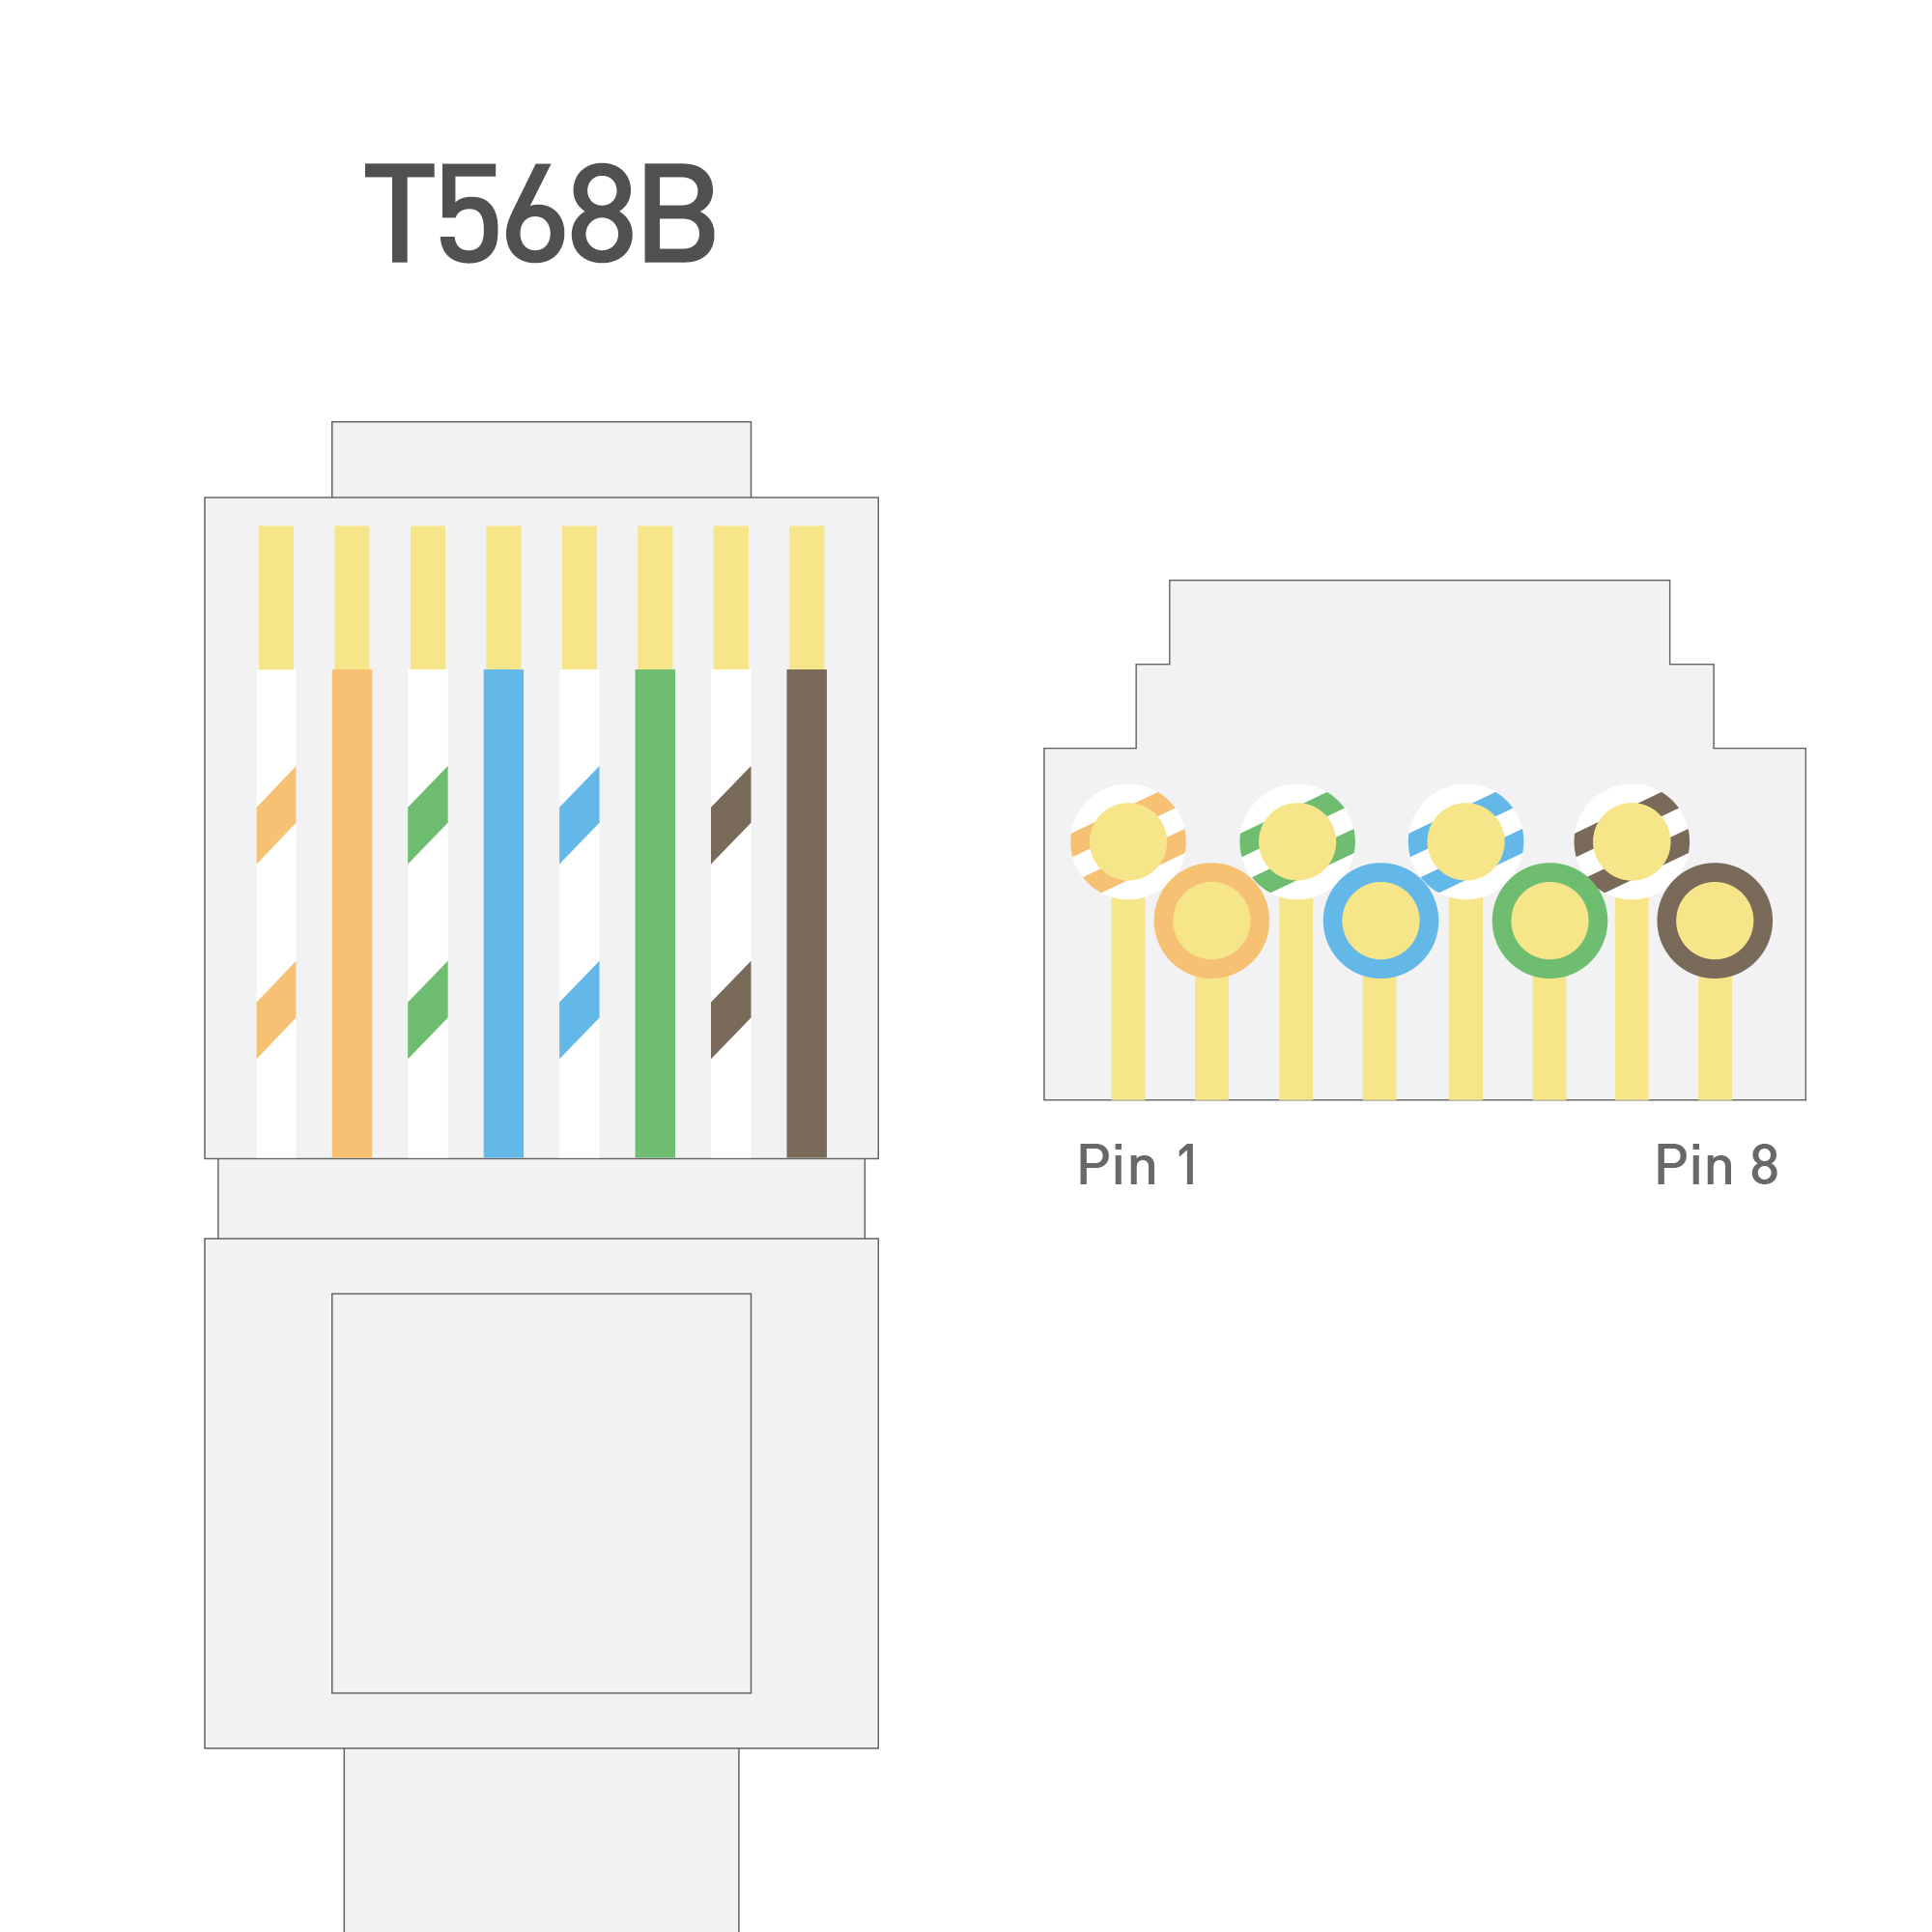
- Untangle the wires and arrange them in the industry standard T-568B configuration, as seen in the diagram below.
- Straighten the wires as best you can, and if necessary, trim them back to about half an inch in length using the wire cutter on the crimp tool.
- Take your Cat 6 plug and slide the wires inside, paying close attention that the wires stay in the correct order. If they jump or don't slide in correctly, remove the RJ45 plug, re-straighten the wires, and try again.
- Push the wires right to the end of the connector. This may take a bit of force or jiggling around, but they should get there eventually. At this point the PVC coating of the Ethernet cable should also have entered the plug, making for a tight fit.
- Take the crimping tool and slide the RJ45 plug into its crimping slot as far as it will go. Squeeze the crimping tool tightly to crimp the connector.
- If you're using strain relief boots, slide your previously applied relief boot over the Cat 6 plug.
- Repeat the above steps on the other end of the Ethernet cable.
Once complete, test it out by connecting it to your devices and confirming whether you have an active network connection. If you do, congratulations, you've made your own custom Ethernet cables. If not, you might want to retrace your steps to see if you missed something. Alternatively, try again. You should have plenty of cable and Cat 6 plugs to work with.
RJ45